Whenever I think of rolling pie dough, it's the combination of many small factors jumbling in my head, which makes my head hurt and my heart quop. I don't have a rolling pin, I don't have a clean surface for rolling dough, I don't know the sweet spot amount of flour to sprinkle to make the equipment non-stick while rolling without creating a stiff dough... (Usually, by this stage, I'd withdrawn my hand from the flour cupboard and would go for the gin instead.)


I harbored a little apprehension as I cut a wedge of pie for myself; it was my first time making this after all. But as I cooked the pie filling, the strong smell of the spices carry the promise of holiday, and the addition of brandy released a cathartic warmth throughout the kitchen. The worry was for naught: the pie filling was like a rich spice-laden custard, and perfect for Halloween.
 |
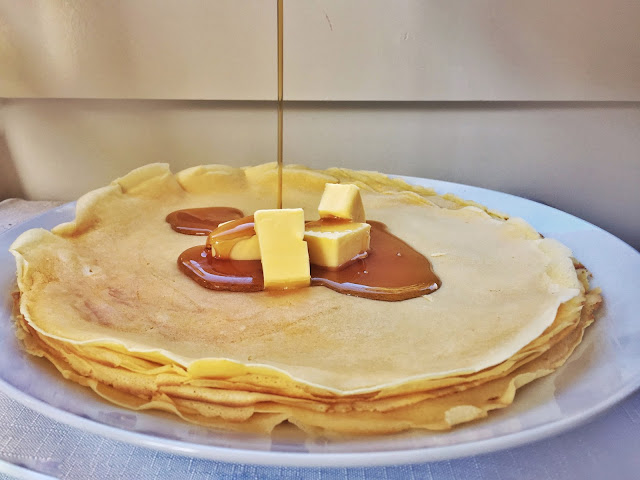
| Pic by R |
 |
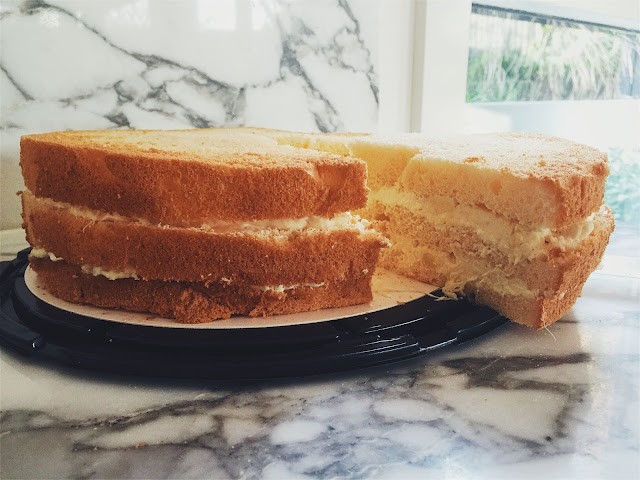
| Pic by R |
Pumpkin Pie Recipe
Makes one 9-inch (23cm) pie
Adapted from David Lebovitz's recipe
The original recipe comes with instructions for a majestic swooping marshmallow topping, which I was going to attempt until my handheld mixer inexplicably broke. David suggests that canned pumpkin can be used to cut down the work involved, but making pumpkin puree is really easy: bake the quartered pumpkin at 170C until soft enough until a fork goes in without resistance, then scrap out and mash.
INGREDIENTS
Pie Crust
175g (1 1/4 cups) flour
2 teaspoons sugar
1/4 teaspoon salt
115g (4 ounces) unsalted butter, chilled and cubed
3-4 tablespoons ice water
Pumpkin Pie Filling
425g (1 3/4 cups) pumpkin or butternut squash puree
250ml (1 cup) heavy cream
125ml (1/2 cup) milk
3 eggs, at room temperature
160g (3/4 cups) packed light brown sugar
1 teaspoon ground ginger
2 teaspoon ground cinnamon
1/4 teaspoon ground cloves
1/4 teaspoon ground black pepper
Pinch of salt
1/4 teaspoon grated nutmeg
1/2 teaspoon vanilla extract
2 tablespoon Cognac or brandy
STEPS
Pie Dough
1. Mix flour, sugar, and salt. Add chilled butter and mix into the flour mixture until the butter is in small pieces the size of a pea. (Use a stand mixer fitted with the paddle attachment, or a food processor, or by hand as you rub the flour into the butter with your finger tips, or a pastry blender).
2. Add 3 tablespoons of ice water and mix until the dough comes together. Add more water as necessary. Turn the dough out onto a clean flat surface and give it a few turns with your hands. Shape it into a disc, wrap in cling wrap and refrigerate for at least an hour. As the dough is refrigerating, prepare the pumpkin filling (see below).
3. Between two pieces of baking paper (or lightly flour the table and the rolling pin), roll out the dough until about 33cm (13 inches) in diameter. Dust off the excess flour and transfer it to a pie plate. Crimp the excess dough from the rim of the pie plate, and prick the bottom of the pie dough with the tines of a fork.
4. Preheat the oven to 190C (375F). Line the inside of the pie dough with aluminum foil and fill halfway with beans, rice, or pie weights. Bake for about 15-20 minutes until the edges are a golden brown, then lift out the aluminium foil with the weights, and bake until the inside is nicely browned, about another 5 to 8 minutes. Remove from the oven and turn the temperature down to 180C (350F).
Pie Filling
1.Blend all ingredients together, either in a blender or with an immersion mixer in a pot.
2. Gently warm the filling over a small fire, scrapping the bottom constantly, just until it’s warm to the touch. Do not overheat as eggs scramble around 60C (140F). Remove from fire.
3. Reheat gently just as the pie crust finishes baking.
Putting Crust and Filling Together
1. Ladle the warm filling into the prebaked pie shell. Bake at 180C for 40-50 minutes, just until when you jiggle the pie, the centre of the pie has just set and is only slightly jiggly. Let pie cool completely on wire rack. Overbaking would result in a cracked pie surface as the pie cools.
NOTE
Once cool, the pie can be chilled (for up to two days), or left at room temperature for serving.