
I have to say, the first time I did this recipe, I poured vermouth into the hot pan and the liquor erupted into flames half a metre high, almost scorching my cabinets. Although... I'm still not quite sure how it happened (was it because of wayward flames licking up the sides of the skillet?), and while I didn't manage to replicate the event again (thank goodness!), I have to say it instilled a little extra bit of wariness into me whenever I add liquor to a hot pan from now on.
Aside from the 20/20 hindsight of a haphazard cook, I have to say that this dish is one that you can whip up with minimal prep on a weekday dinner, and tastes incredibly luxurious. Continuing my trend of one-potting my meals, this is simple to do, and the resulting pasta far outpaces the effort it entails.

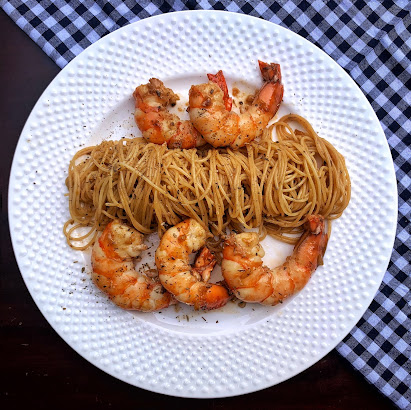
Garlic Butter Prawn (Shrimp Scampi) Pasta Recipe
Original Recipe from Serious Eats
Makes 3-4 servings
Despite the above picture, my favourite pasta to go along with this dish happens to be penne. Cook to al dente, then toss in the pan with shrimp and sauce, adding a little pasta-cooking water to bind it all together.
INGREDIENTS
- 1 pound (450g) large shrimp, deshelled and veins removed
1/2 tsp salt
1/4 teaspoon baking soda
3+1 tablespoons (45+ml) extra-virgin olive oil
4 teaspoons (16g) minced garlic (about 4 medium cloves)
A large pinch of red pepper flakes
1/2 cup (120ml) dry vermouth
3 tablespoons (45g) unsalted butter, cut into tablespoon-size pieces
1 tablespoon (15ml) fresh juice - 1 teaspoon (4g) grated zest from 1 lemon
- 2 teaspoons (8g) minced parsley, tarragon, and chives
- 300g dried pasta