
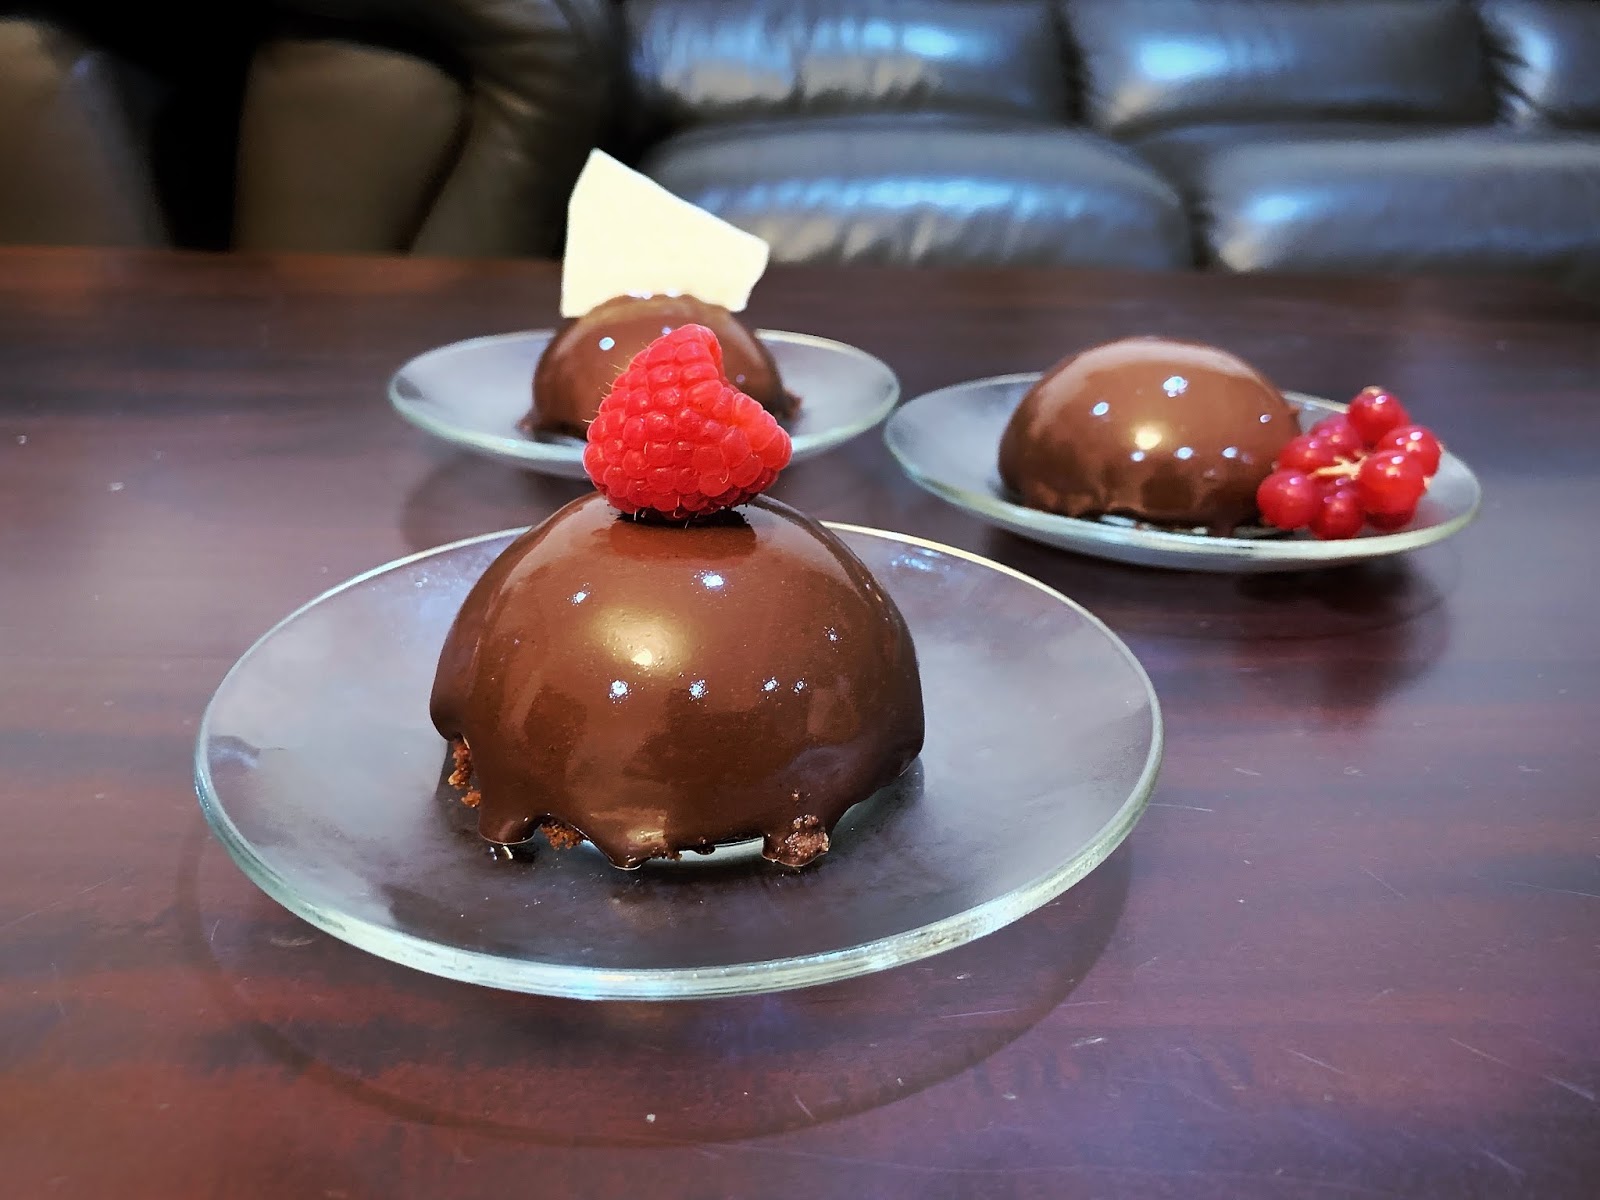
Years ago, back when I was studying in university and all of us were staying on campus, my friend Karen brought a few of these dainty confectioneries to us, and asked us what we thought about them. It was a delicate chocolate mousse, coated with a shiny layer of glaze and sitting atop a crunchy biscuit base. I dug a spoon into the dessert, and peeping out of the chocolate mousse, was an inner filling of caramelised milk, or dulce de leche. It was simply exquisite. We could scarcely believe that they were home-made. Within a few bites, the plates were swept clean, and not a crumb remained.
It's been a few years since. Despite the intervening years, I still remember her mousse cakes, which had been singularly the most impressive dessert I had seen a home baker made. And I hung out often with a pretty large group of baking enthusiasts. I'd seen similar confectioneries in various fancy cafes, usually little showstoppers named after the cafe. This recipe was so spectacular, I finally gave in and bought some of those silicone molds just so I could make these mousse cakes.


A common theme in my baking experience is to jerry-rig some sort of baking equipment together, and over here, for example, is my niece's Hello Kitty cookie cutter in lieu of a circular cookie cutter for the chocolate base. Which actually did a pretty good job.


Karen's Chocolate Mousse Domes
This is a four-part assemble, and is more complicated than the usual recipes that I post up. However, if you stick with it, it's well worth the effort. I've listed the parts in the order of which they should be done, to minimise waiting time. Otherwise, it could be spread out over multiple days. This recipe requires a roughly-circular cookie cutter, and silicone molds. Silicone molds can be picked up online or in specialty baking stores. The portions here has been adjusted to make 12 mousse domes.
RASPBERRY FILLING
Fills 12 mousse
INGREDIENTS
40g granulated sugar
1/8 tablespoon lemon juice
40ml water
A dash (1/16 tsp) vanilla extract
75g frozen raspberries
STEPS
1. In a medium saucepan set over medium heat, combine everything and cook until mixture thickens into an almost-jam-like consistency. Remove from heat and let cool completely. Chill the filling before use.
CHOCOLATE MOUSSE
Makes 12 domes (2.5" each)
INGREDIENTS
4.5g (1.5 tsp) of gelatin
100g dark chocolate, about 70% cacao
20g brown sugar
1 tsp vanilla essence
50ml + 250ml heavy cream
STEPS
1. Stir the gelatin into 30ml of cold water. Allow to sit for 5-10 minutes.
4.5g (1.5 tsp) of gelatin
100g dark chocolate, about 70% cacao
20g brown sugar
1 tsp vanilla essence
50ml + 250ml heavy cream
STEPS
1. Stir the gelatin into 30ml of cold water. Allow to sit for 5-10 minutes.
2. In a small saucepan, set 50ml of heavy cream and the chocolate over the lowest possible heat, stirring constantly, until the chocolate has fully melted. Remove from heat. Add brown sugar, and vanilla essence. Allow the mixture to cool, and then stir in the gelatin.
3. Whip the remaining 250ml heavy cream to soft peaks, and fold into chocolate mixture until just combined.
4. Scoop the mousse into the dome molds, leaving about 1/2cm of space at the very top. Create a slight well in the middle of the chocolate mousse, to make space for the raspberry filling.
5. Add a teaspoon of the raspberry filling (as above) into the mousse. Smoothen out the surface of the mousse if you can, but it's no great deal not to. Place the mousse in the freezer while you make the chocolate biscuit base (below). You may find it helpful to slide a cutting board under the flexible silicone mold for structural support.
CHOCOLATE BISCUIT BASE
Makes enough for 12 mousse cakes. Digestive biscuit is widely available, though I’m planning to try using feuilletine in my future batches.
INGREDIENTS
150g digestive biscuit
50g choc
50g butter
CHOCOLATE BISCUIT BASE
Makes enough for 12 mousse cakes. Digestive biscuit is widely available, though I’m planning to try using feuilletine in my future batches.
INGREDIENTS
150g digestive biscuit
50g choc
50g butter
STEPS
1. Pound the digestive biscuit into small even crumbs. I get best results with a mortar and pestle, but I mostly make do with a rolling pin or the flat surface of a kitchen hammer. If your digestive biscuits are a little stale (it happens), it helps to toast the biscuits at 180C for a couple of minutes before pounding them. Set the crushed biscuits aside.
2. In a medium-sized saucepan, melt butter over the lowest heat setting over a stove, and then add chocolate and stir constantly, until the chocolate just melts and combines with the butter. Remove from heat and mix the crushed biscuits with the chocolate mixture.
3. Remove the silicone molds from the freezer. Fill up each dome with this chocolate-biscuit mix, compressing and leveling the crushed biscuits as you go along. Return to freezer and let the cakes freeze thoroughly, at least for half a day.
Update (2025): I previously advocated to bake this chocolate-biscuit layer in circular shapes before combining with the mousse, but it wasn't necessary after all. In fact, it tastes better without baking.
CHOCOLATE MIRROR GLAZE
Makes enough for 12 mousse cakes
Makes enough for 12 mousse cakes
Adapted from Chef Iso
INGREDIENTS
5.7 grams powdered gelatin
30ml cold water
60 grams water
90 grams sugar
60 grams condensed milk
15 grams of cocoa powder
105 grams dark chocolate
1/2 tsp vanilla extract
STEPS
1. Bloom the gelatin in cold water by stirring them together thoroughly. It should be a thick slurry.
INGREDIENTS
5.7 grams powdered gelatin
30ml cold water
60 grams water
90 grams sugar
60 grams condensed milk
15 grams of cocoa powder
105 grams dark chocolate
1/2 tsp vanilla extract
STEPS
1. Bloom the gelatin in cold water by stirring them together thoroughly. It should be a thick slurry.
2. Over medium heat in a saucepan, combine water, sugar, and condensed milk, and let it come to a boil. Remove from heat and stir in the vanilla. When it has cooled a little, add in the gelatin and stir until it is fully dissolved.
3. Place the chocolate and cocoa powder in a large bowl and pour the hot liquid over it. Let the mixture sit for a few minutes, then gently stir until the chocolate is fully melted. Using a handheld blender (alternatively, you may pour into a blender), process until the glaze is homogenous mixture. Be careful not to introduce too many bubbles since every minor imperfection will show on the surface.
4. Strain the glacage through a sieve to remove any stray particles and air bubbles.
5. Let the glacage cool for about 10-15 mins. If using a thermometer, aim to get it about 32°C, which is the optimal temperature to pour over your frozen desserts. Set a metal rack over a plate or bowl, and gently pour the glaze over the desserts. The excess glaze that drips off the dessert can be reused, after straining it through a sieve to filter out stray crumbs.
6. Leftover glaze can be stored indefinitely like this. If otherwise left in a well-sealed tupperware in the fridge, it is best to use it up within 3-5 days. To warm up the glaze in future recipes, I place a required amount in a small metal container, and submerge the container in a larger vessel filled with boiling water. Stir gently, as the glaze is heated up by the hot water and melts into a pourable consistency.
Serving
Once glazed, transfer the domes to the fridge and allow to defrost fully, about 3 hours in the fridge or faster at room temperature. Once defrosted, the biscuit base will start to soften, and is best when consumed within a day.
Variation
8-inch cake
The recipe can be adapted for an 8-inch cake. Build the biscuit base in a cake pan with a removable base. Cover and freeze. Subsequently, add the raspberry layer and return to freezer. Then add the mousse, and return to the freezer. Finally, loosen and release the cake from the walls (you may find using a cloth dipped in near boiling water useful to warm up the side of the cake pan to aid the release of the cake). Glaze the cake and top with chopped nuts or cacao nibs. Let thaw in the fridge several hours prior to serving.
Cream substitute
When you're running low on cream, you can substitute some parts of it with full cream milk in a pinch. Under the CHOCOLATE MOUSSE portion, use milk instead of cream to melt the chocolate in. The less cream you use, the icier the final product will be. You'll still need about 200-250g cream for this recipe (to whip to soft peaks).


No comments:
Post a Comment